
Thinking of going for your first solo budget trip? No idea how to start or follow through with your itinerary? Safety concerns? As a fellow solo female budget traveler (that was long!), I completely understand how it feels and the potential challenges you might face when planning for your first solo budget trip!
Use this as a general guide, rather than a one stop page for you to plan your first solo budget trip and future budget/solo trips. Of course, you’ll still need to do a lot more research on the specific travel destination. For example, one country’s culture, safety, type of crime etc differs from another. So it’ll greatly affect how you plan your trip!
Part 1: Decide on big ideas
Country of visit
Firstly, safety. As a solo female traveler myself, my advice for any solo traveler would be to choose safe countries.
Here are some useful links:
- https://www.bemytravelmuse.com/best-places-in-asia-for-solo-travelers/
- https://www.worldpackers.com/articles/top-countries-we-recommend-for-solo-female-travel
Secondly, language. Not a must but better to, is choose a country where you speak their language or they speak your language. This makes travelling a lot easier, and less lonely (possibility of making more friends when you speak the same language!).
Duration of travel
Do you have 1 week, 2 weeks, 1 month or 6 months to spare?
Budget
How much are you willing and able to spend for your solo budget trip?
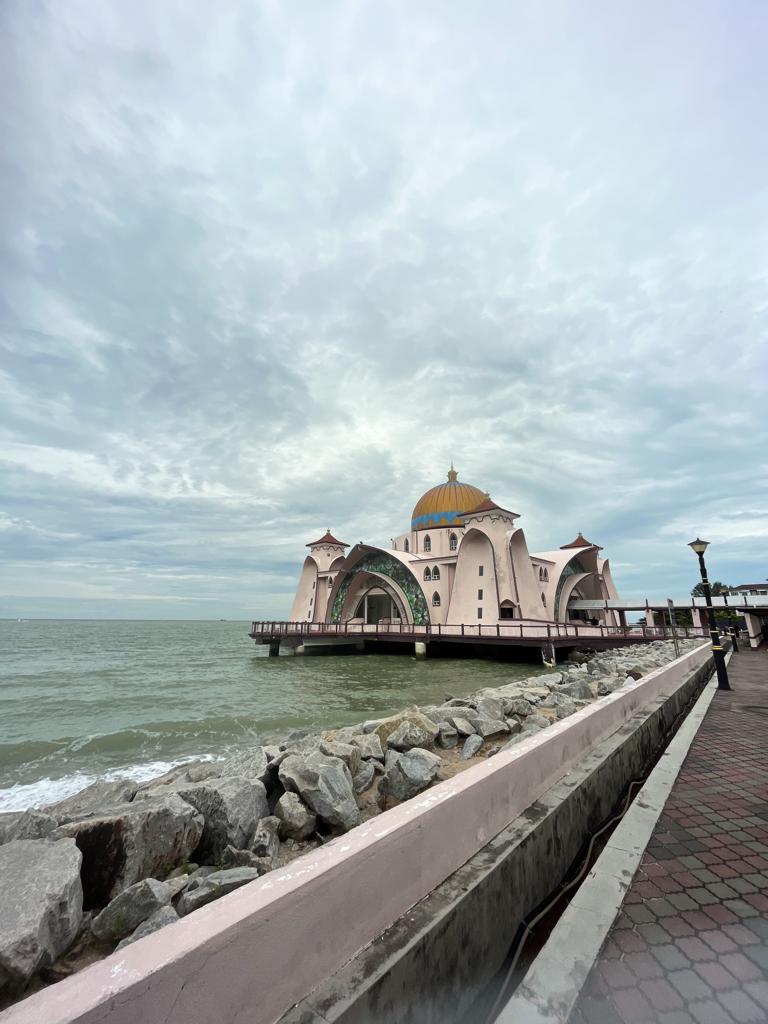
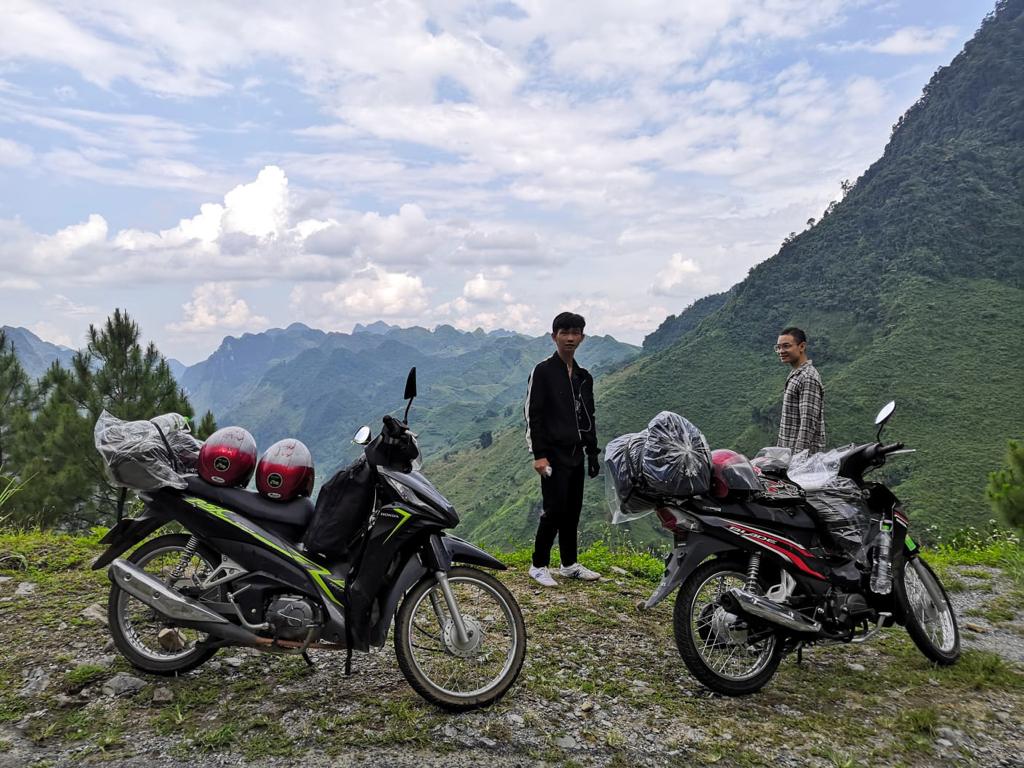
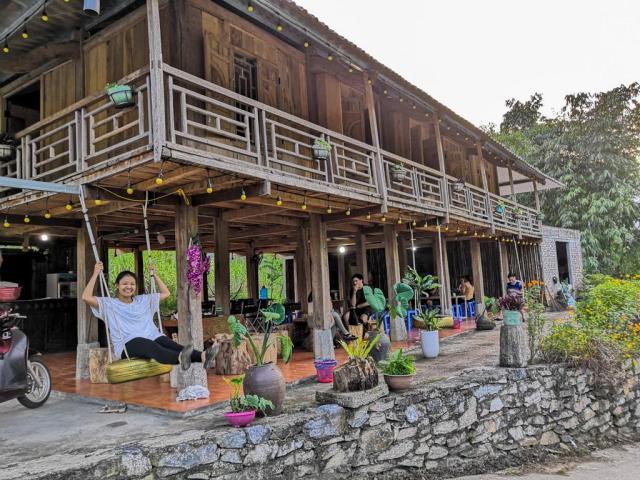
Many countries in Southeast Asia are very budget friendly and safe for solo female travelers so that’s why I chose Vietnam!
Here are some useful links:
Part 2: Start to plan your itinerary
Get inspiration and ideas from a wide range of sources
Once decided on a destination, watch videos, read travel blogs and talk to people who’ve been there. There’s Youtube, Instragram reels, Tiktok for videos. Googling is so powerful too! You’ll come across so many travel blog gems. The world is your oyster! Or rather, in this instance, the internet is your oyster!
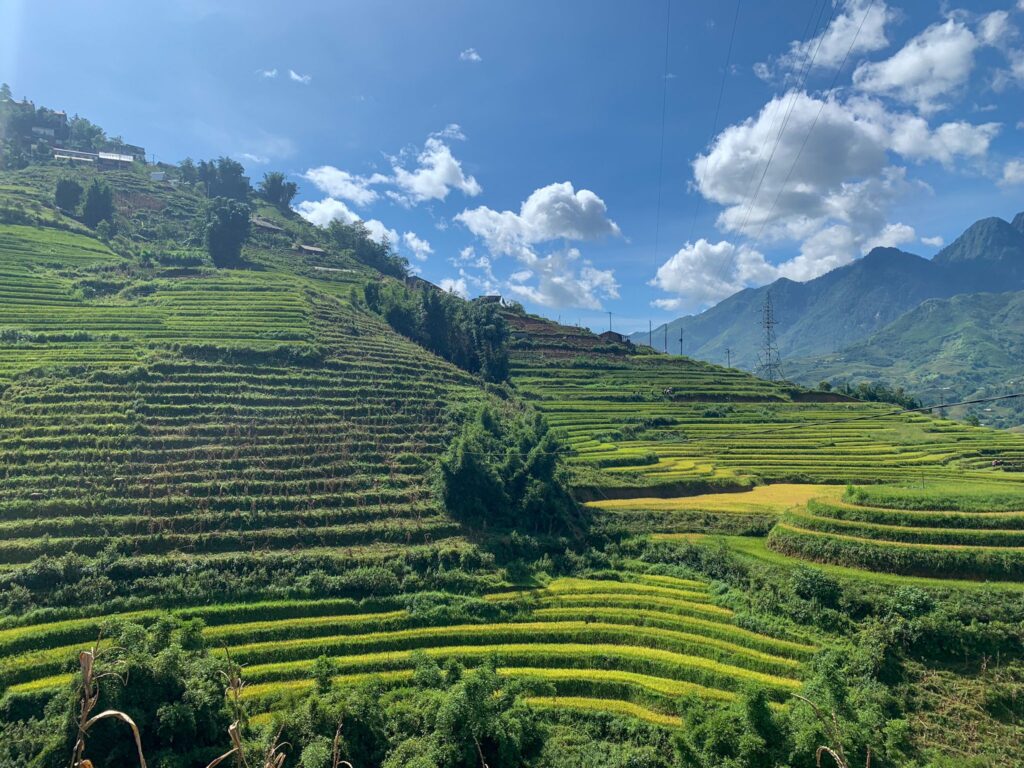
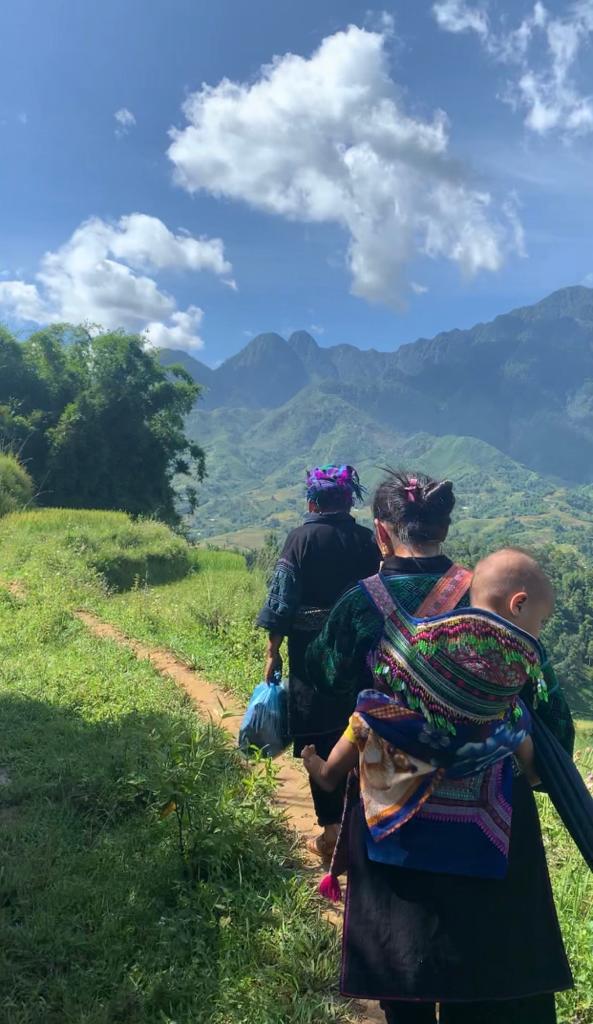
I actually had an initial idea to travel from South Vietnam, to visit my relatives in Ho Chi Minh for a week, then travel solo for 2 weeks through Central and to the North. But after I’ve watched some videos, I realised the places of attraction in Central Vietnam were not something that really piqued my interest compared to the North. Furthermore, considering the limited time of 2 weeks solo that I managed to set aside for this solo budget trip, I decided I should just travel around North Vietnam.
This was when I booked my 3 flight tickets — from Singapore to Ho Chi Minh City (HCMC), HCMC to Hanoi, Hanoi back to Singapore. (read on to find out how cheap my flight tickets were!)
Go deeper, research on cities, provinces or towns of your interest


After getting some inspiration from the previous step, you should have a general idea of the cities, provinces, towns or areas of your interest.
Find out more about each of these areas and what they have to offer.
For example:
- tourist attractions
- UNESCO world heritage sites
- hidden gems — local bazaars or flea markets
- must-try foods — unique local food, attend a cooking class
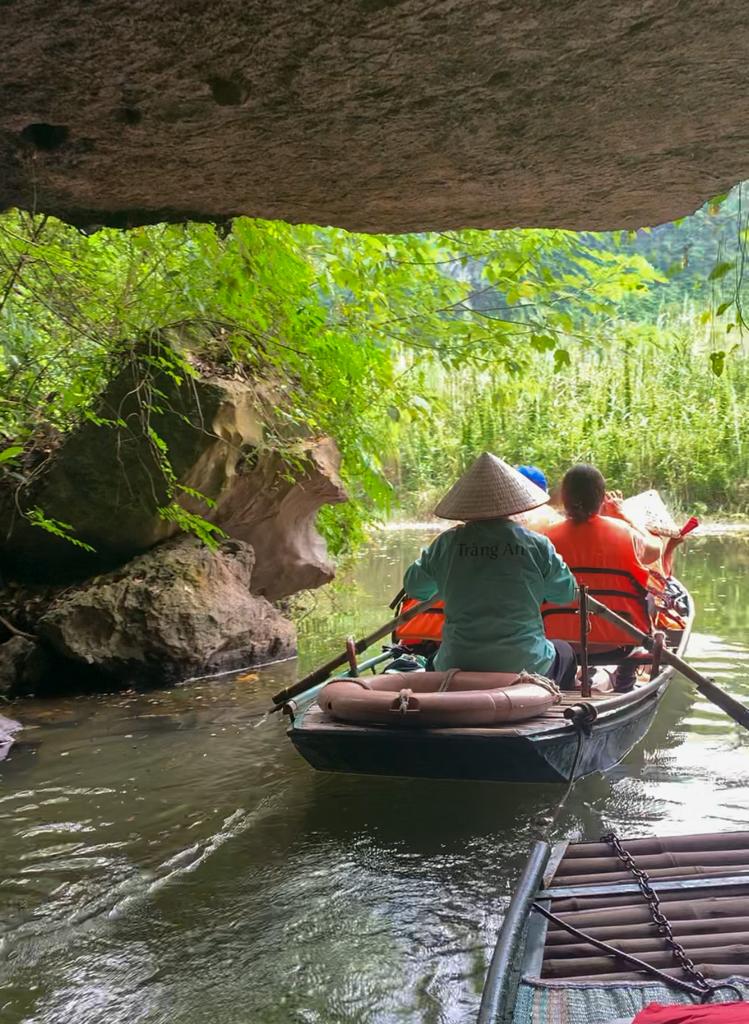
- must-do activities — boat tour, tea appreciation, diving, hiking
Create a list of places and things to do in each area. Don’t worry about being excessive on this. When you go deeper into your research, some activities will be scraped and that’s okay! The extra ideas can be used for your future travels or added into your bucket list — diving, maybe not possible for this trip but it’ll be for your next one!
Go even deeper, research on activities and places of your interest

Get into the details of each activity.
For example:
- date and time of festivals/events
- clothing rules when visiting temples or religious sites
- distances between activities in the area (some are within walking distance apart!)
- entrance fees, prices of tickets
- methods of transportation — ferry, bus, taxi, boat etc
- cost of transport to the place
- cost of transport within the area
This is when you’ll have to scrap off some activities. Maybe that festival that you wanted to attend doesn’t fall on the dates of your travel. Maybe the prices of the tickets may not seem worth it to you anymore? Don’t worry, there’s always other opportunities! And trust me, you’ll still have to scrap off some more activities as you go deeper into your planning.
By now, book your flight tickets!
One of the biggest spending on a solo budget trip is the flight tickets!
The earlier you book your flights, the better it is — most of the time. So you wouldn’t want to try your luck when you’re a amateur traveler like me!
But it depends on what kind of person you are. If you need to have more information before you book, at this point, this should be the best time to book your flight (after going into some details of your itinerary. Or if you’re like me, I booked it WAY earlier when I knew that I just wanted to travel around North Vietnam.
When it comes to finding the best flights, I always refer to this blog for tips and tricks. The total for my 3 flights was $175 USD (SG → HCM → Hanoi → SG). It would have been even cheaper if I got a round trip from SG→ Hanoi → SG, but I started from HCMC as I was there to visit my relatives.
Useful link:
Book your accommodations


Another big part of your spending for any solo budget trip is on accommodations.
After finding out the details of the activities, it’s time to look at accommodations!
Same as booking your flights, booking it early is better and safer. Not only do you save on cost, you’ll also save on your panic when have yet to find a place to stay as accommodations are fully booked and you’re already on your way that city/town/province.
In fact, I would strongly recommend you to book your accommodations at this point, before going into the other nitty gritty details (eg when, where, what activities to do). Because the rest of your itinerary planning is going to take time. And by the time it’s done, all the accommodations you have in mind might already have been taken up. This calls for a whole re-planning of your itinerary. It’ll be whole nightmare!
But I completely understand that your accommodation dates and location is affected by the activities you plan, so make sure that your bookings are REFUNDABLE or CHANGEABLE.
Things to look for when finding accommodations:
- Convenience — Is it near your main places of visit? Does it allow early check in or a place to put down your baggage first?
- Service — 24h reception? Free Wi-Fi? Booking refund policy?
- Accessibility — Is it up a steep hill? Do you have to walk through a forest to reach it?
- Comfort — Shared room or by yourself?
- Culture appreciation — Homestays?
- Budget — $50 vs $7 per night, breakfast included?
- Reviews and rating — to be safe, look at accommodations with at least 100 reviews and 4 out of 5 stars rating
- Country specific or area specific apps or booking platforms — besides Airbnb, you can do a quick Google or YouTube search to find out other apps or platforms, specific to your travel destination, where there’ll be more options with better price points. I used the Agoda app for all my accommodation bookings in North Vietnam for my solo budget trip.
Part 3: Build on your itinerary
Plan by the day
Agreeably, some might object to this. But as a beginner, and particularly for my first solo budget trip, this really helped me feel in control. It allowed me to be in the moment to enjoy each activity planned without having to worry about what is next. Of course, for my following solo trips, it became less and less ‘planned’.
Tips:
- Sequence activities such that it is convenient for you to travel.
⇒ E.g. Activity 1 is 2km away from your stay, activity 2 is 10km away, activity 3 is 15km away, activity 4 is 2.5km away, activity 5 is 1km away, then you’re back to your stay! (total travelling time: 2 hours)
⇒ DO NOT: Activity 1 is 10km away, activity 2 is 1km away, activity 3 is 15km away, activity 4 is 2.5km away, activity 5 is 8km away. (total travelling time: 4 hours)
- Group together activities which are near to each other.
⇒ A church and a museum you want to visit are next to each other! Put these activities on the same day and right after each other!
- Give yourself buffer time to travel from one activity to another (unless they are just a 5 minutes walk away or within the same location).
From waking up to ending the day, from reaching the destination to leaving it, and everything in between!
Finally, create a table like this:
Day 1 — 23rd August
| Time | Activity | Things to note |
|---|---|---|
| 7am | Wake up + wash up | |
| 7.30-8.30am | Breakfast at hostel + call parents | |
| 8.30-9.30am | Activity 1 | |
| 9.30-11am | Activity 2 | buy ticket there, cash only |
| 11am-12pm | Activity 3 | must leave by 12pm! |
| 12-1pm | Lunch @_____ | opening hours: 10.30am-2pm daily |
| 1-2pm | Travel to Activity 4 | |
| 2-4pm | Activity 4 | |
| 4-6pm | Activity 5 | |
| 6-7pm | Dinner @_____ + call parents | |
| 7-9pm | Activity 6 | |
| 9-10pm | Wash up + pack for next day | |
| 10.30pm | Lights out! |
Have plan A, B, C…
You’ll never know when you’ll need a backup plan until it’s too late and you’re panicking or feel like you’ve wasted your day. So create it now!
- Wet weather plan
– Is a raincoat suffice? Is the activity not possible with rain at all?
– What can you do indoors then?
- Activity taking longer/shorter than expected
– What are some activities you MUST DO? Put them at the start of your day! So even if takes longer than expected, it doesn’t ruin much of the rest of your day!
– Have a list of miscellaneous things you could do to fill in the extra time.
- Transport backup
– a go-to or backup app with a range of options available (E.g. in case you miss your bus)
– local alternatives to grab? (I used Be and Gojek as alternatives in Vietnam)
- Accommodation backup
– a go-to or back up app with a range of options available. (I used the Agoda app for all my accommodation bookings in Vietnam, even the one which I booked last minute after only finding out when I’m physically there that the initial accommodation I booked with no longer exists.)
Part 4: Finalise your itinerary
It’s down to the nitty gritty but IMPORTANT details!
Mobile data/SIM card
Firstly, research on the options available specific to your travel destination.
Secondly, compare their prices and be aware of the market pricing (to prevent being scammed while there!)
Finally, decide where, when and how to get it sorted out.
Money prep
1. Save on ATM withdrawal fees
- Is there withdrawal fees for using your debit card overseas? Can you apply for one that does not?
2. Have a plan on how to keep money safely
- Read up! Some useful links:
→ https://www.smartertravel.com/10-smart-ways-to-carry-money-while-traveling/
- For example:
→ a variety of ways to access your money (cash, debit card, credit card, prepaid card etc)
→ money belt for emergency cash
→ fake wallet (in case you’re robbed and you can pass them this wallet quickly without hassle)
separating money into a few places (different pockets and bags)
→ bringing enough cash for that day only (keep the rest in a safe and locked location)
→ have a backup debit/credit card (in case your card gets eaten by the ATM)
3. Have a space to write down and take note of your daily spending!
- I wrote them down on my travel journey. Separating spending on food, transport, activities and necessities
Safety prep
1. Get travel insurance before you leave
2. Check your government travel website on more information on your travel destination
3. Register with your government on your travel dates (especially for travels that’s 2 weeks or longer)
4. Have a handy list of emergency contacts
- your country’s embassy (contact number and address)
- local police (contact number)
- medical ambulance (contact number)
- your bank (contact details of ) (in case you need to block your bank account)
5. Be aware of scams, petty crimes and rules to follow
- Read up on safety tips specific to your travel destination
6. Have at least 2 photocopies of your passport
- helpful in the case you lose your actual passport
- bring a photocopy around with you, keep another with your other belongings
7. Whenever and wherever it is safe (if they have a locked safe), keep your actual passport with your accommodation as much as possible
- to prevent losing your passport or from it being robbed together with your valuables
8. Study your map before you leave
- so you’ll rely less on the phone ⇒ prevents pickpocketing and robberies
Useful link:
Pack for your trip!
It’s the fun part! But it can be stressful if you push it to the last minute.
Give yourself 2 weeks before your flight to do this.
Create a packing list for easy checking so that you don’t miss out on items.
Have a physical travel journal (optional but very helpful)

I found this particularly helpful. It was always with me throughout my travels. I’ll whip it out in between activities to look at what is next, during meals to note down my spending, during long rides and before bed to pen down my thoughts etc. Besides, you’re on a solo budget trip, there will be plenty of instances when you’re alone and your journal will come in handy.
Furthermore, it’s particularly helpful in the cases when you have no access to any digital devices (phone died or lost), want to use your phone less to save on it’s battery or reduce the chances of losing your phone. Moreover, with a physical journal, you’ll rely less on your phone — which is helpful to reduce the chances of being robbed or misplacing your phone.
Must have in your travel journal:
1. Emergency contact list
- your country’s embassy address and phone number
- local police phone number
- local medical ambulance phone number
- your bank’s phone number (if you’re using debit/credit cards)
Good to have in your travel journal:
1. Purpose of trip
- serves as an overarching reminder as to why you will be committed to this solo budget trip
- My purpose:
→ to learn, grow and get out of my comfort zone
→ accomplish my bucket list of travelling solo independently
2. Personal reminders
- My reminders:
→ Expect less. Don’t expect too much.
→ Be present. Make the most out of any experience.
→ Stay calm. There’s always a way.
→ Be cheerful, friendly and open to start a conversation.
→ Be curious and genuinely interested in others.
3. Goals of trip
- serves as a guide to ensure you’re intentional throughout your trip
- should be clear, actionable, achievable and controllable goals
- My goals:
→ upload 1 Instagram reel of each city/province/town after the visit
→ write 1 blog post per week
4. Budget and actual spending
- organise into subheadings — accommodation, activities, food, transport, miscellaneous (SIM card, insurance, extra baggage fee etc)
5. Journaling or reflections space
Doubts
Planning for your first solo budget trip may feel like you’re going in circles sometimes and you have no idea what you’re doing. During the planning you may face doubts. Am I over planning? Or under planning? Should I bring this sweater or not? What if it doesn’t go as planned? What if I can’t solve a problem alone? Should I even go for this trip?
I feel you! That’s why having a travel journal with your purpose and personal reminders written will serve you well here! But trust me, after you’ve completed your very first solo budget trip, you’ll question why you even had all these doubts in the first place.
You’ll only get better from here. You’ll learn along the way. So, trust your intuition and decisions.
Over-planning or under-planning?
After my first solo budget trip and 2 more, I realised there’s no ‘just right’. You can feel like you’re over planning at first and as you plan more, you may feel like you’re under planning, or vice versa! Over planning? Think of it as an extra safety net! Under planning? Think of it as a chance for you to experience failures or mistakes. and excited about how creative you’ll be in times of challenges.
Over-packing or under-packing?
It’s better to under-pack than over-pack. Most of the time, whatever we need can be found there. So if you decided to not bring something, don’t overthink it.
Is it worth it?
What if it doesn’t go as planned? What if I can’t solve a problem alone? Should I even go for this trip? Look at your purpose and personal reminders.
Final words
Even if you’ve done all the planning, by the day, by the hour, even back up plans of those and safety preparation, there is bound to be other challenges and little hiccups you’ll never be able to expect during your first solo trip. In fact, this is true in life too. It’s not about avoiding challenges or failures, it’s about learning to face them and find creative, corrective and constructive solutions. Only then, can you truly grow.
Go solo! Travel solo! Just do it! Go for your first solo budget trip!